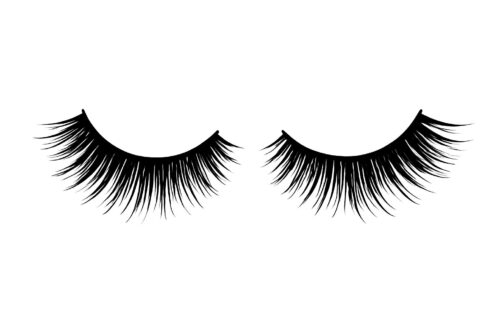
A wispy lash is a style of false lash (or lash extension) that looks light, feathery, and fluttery, with varying lengths of fibers that criss-cross instead of sitting in a straight, uniform row. Think less “blocky strip of lashes,” more “soft, airbrushed fan.
Why we want it? Because it gives the illusion of bigger, brighter eyes without looking heavy. The uneven lengths mimic the way natural lashes grow, so it looks and feels chic instead of overly “done.” Polished without trying too hard and it’s suits both daytime and glam looks.
Here’s a quick guide to applying wispy lashes (so they look fluttery, not floppy):
1.Trim to fit ✂️ Hold the lash strip against your lash line. If it’s too long, snip from the outer corner (never the inner).
2.Flex the band 🔄 Bend the strip back and forth so it hugs your eye shape better.
3.Apply a thin layer of glue 💧Use a lash adhesive and let it dry for about 30 seconds until it’s tacky. Focus a bit more glue on the ends (they lift the easiest).
4.Place & press 👁️ Place the strip as close to your lash line as possible. Use tweezers or a lash applicator.
5.Blend with your own lashes 🔥 Gently pinch your natural lashes and the falsies together with tweezers or fingers. Add a light coat of mascara if needed (but wispy lashes often look best on their own).
6.Fill the gap (optional) 🖊️ Use a black or dark brown liner to hide any space between the strip and your lash line.
Pro tip: If you want a softer, daytime version, cut the wispy lash strip into halves or thirds and just apply them to the outer corners for a lifted cat-eye effect.
Find your wispies HERE
Amanda Rijff